*This post was sponsored by Michaels and Cricut. The opinions are completely my own based on my experience.
Y’all know that I absolutely love my Cricut! From creating tote bags to personalized mugs to labeling all the things, I use it weekly. I am thrilled to share Cricut’s newest product sold exclusively at Michaels. These Infusible Ink sheets literally infuse into the material, giving me a clean, professional look that does not peel or wrinkle. This is a must-have for every Cricut lover!
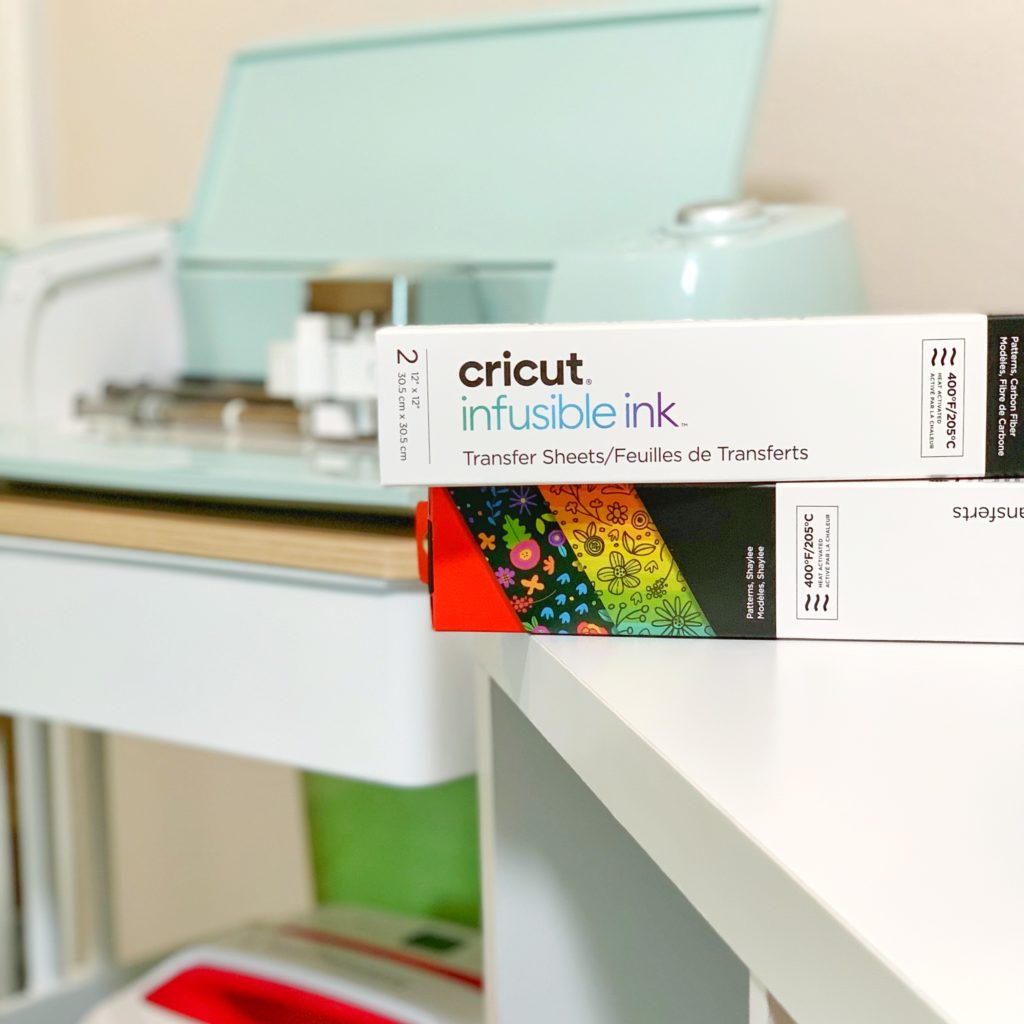
This week, I created the cutest tote bag that will be the perfect accessory at the pool! Let me show you how easy it is to use the Infusible Ink sheets.
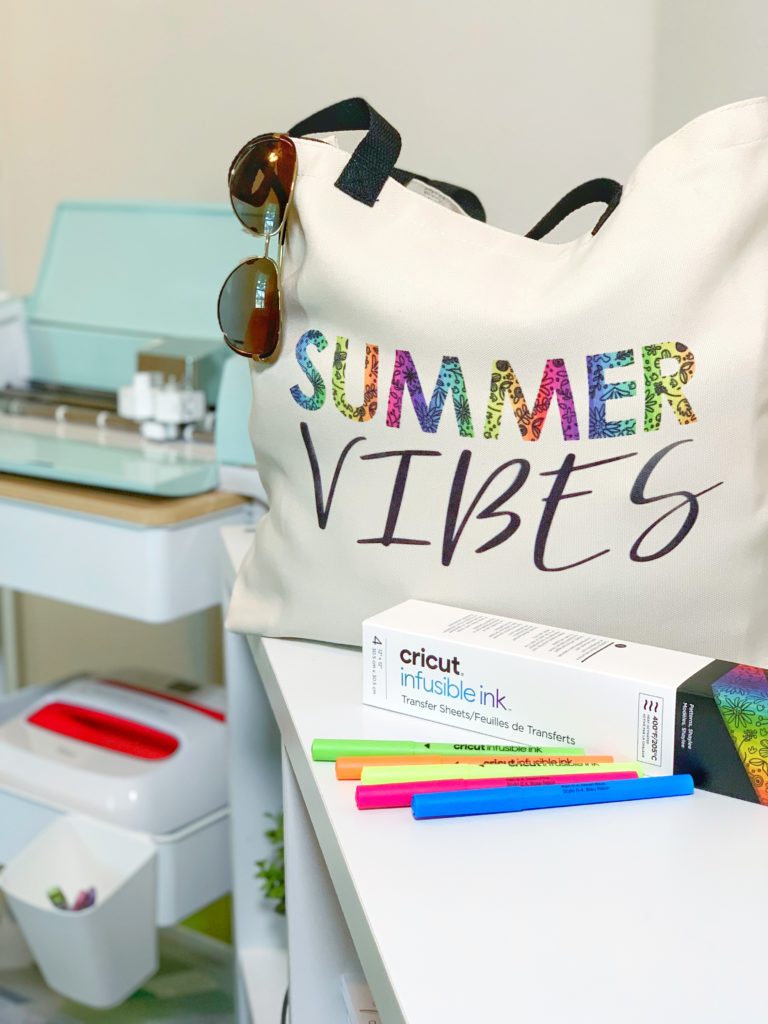
You will need the following materials to complete this project:
- Cricut Maker or Cricut Explore cutting machine
- StandardGrip Machine Mat
- Cricut EasyPress or Cricut EasyPress 2
- Cricut EasyPress Mat
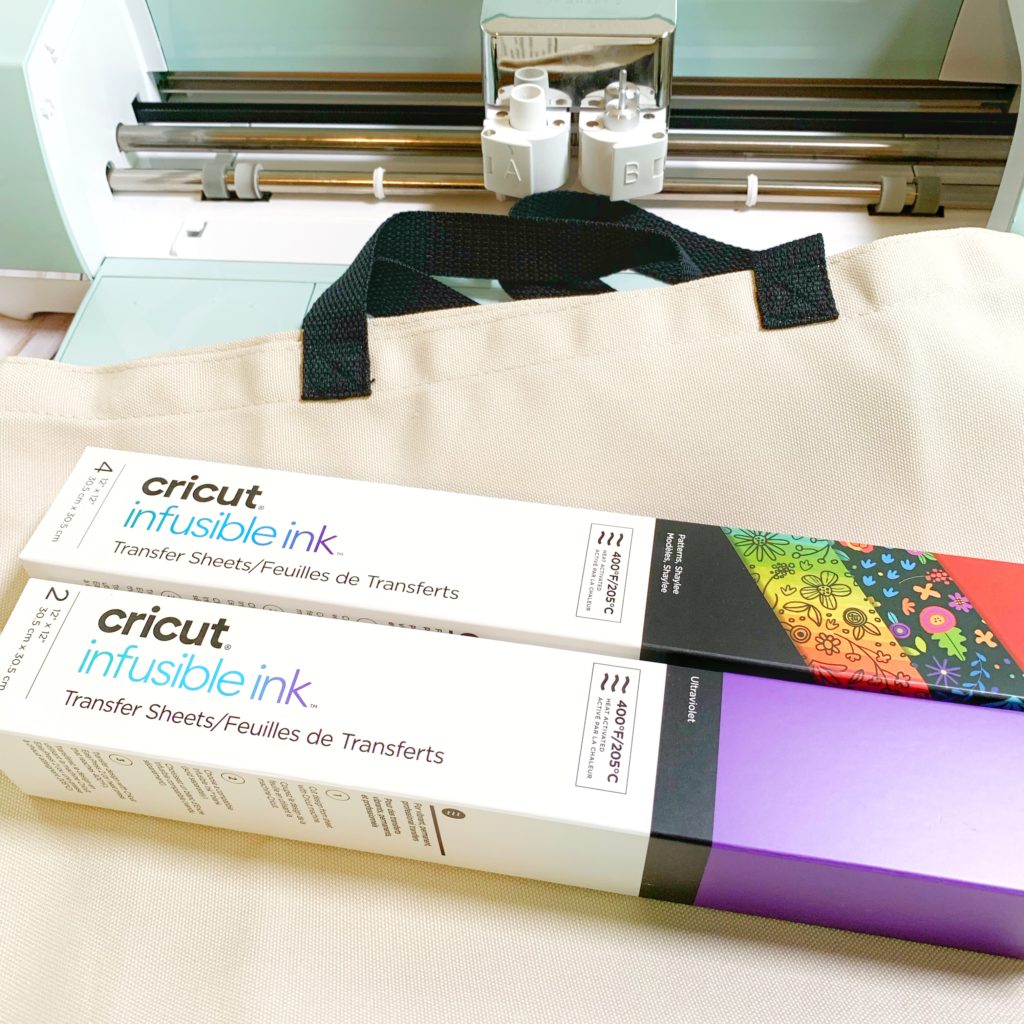
- Infusible Ink Transfer Sheet
- Cricut Tote Bag
- Cardstock- white (colored cardstock not recommended)
- Butcher paper
- Lint roller
HOW TO:
1. Place Infusible Ink Transfer Sheet onto a StandardGrip mat, with the liner side down.
2. In Design Space, create your design to fit on tote bag. Be sure to mirror your design.
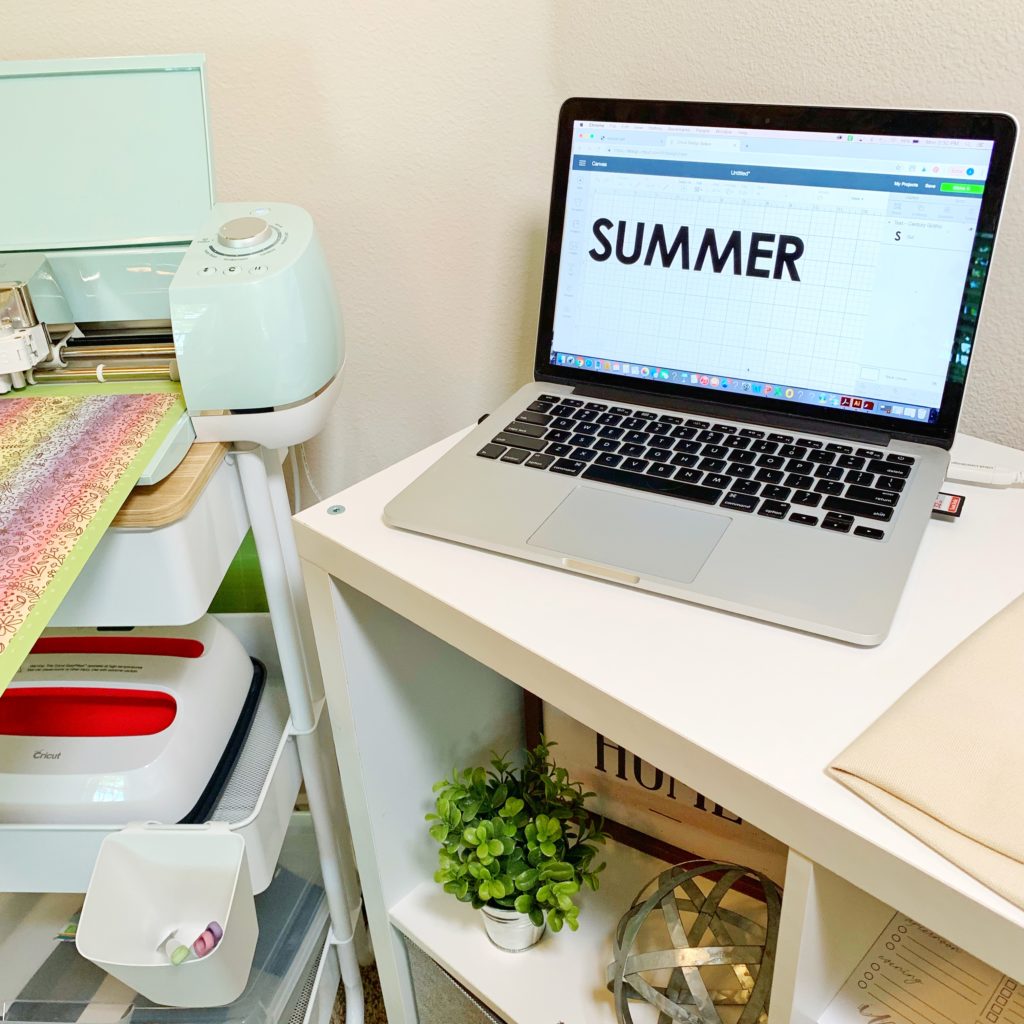
3. Set the material to “Infusible Ink Transfer Sheet.” Load mat into machine, then press the flashing “Go” button.
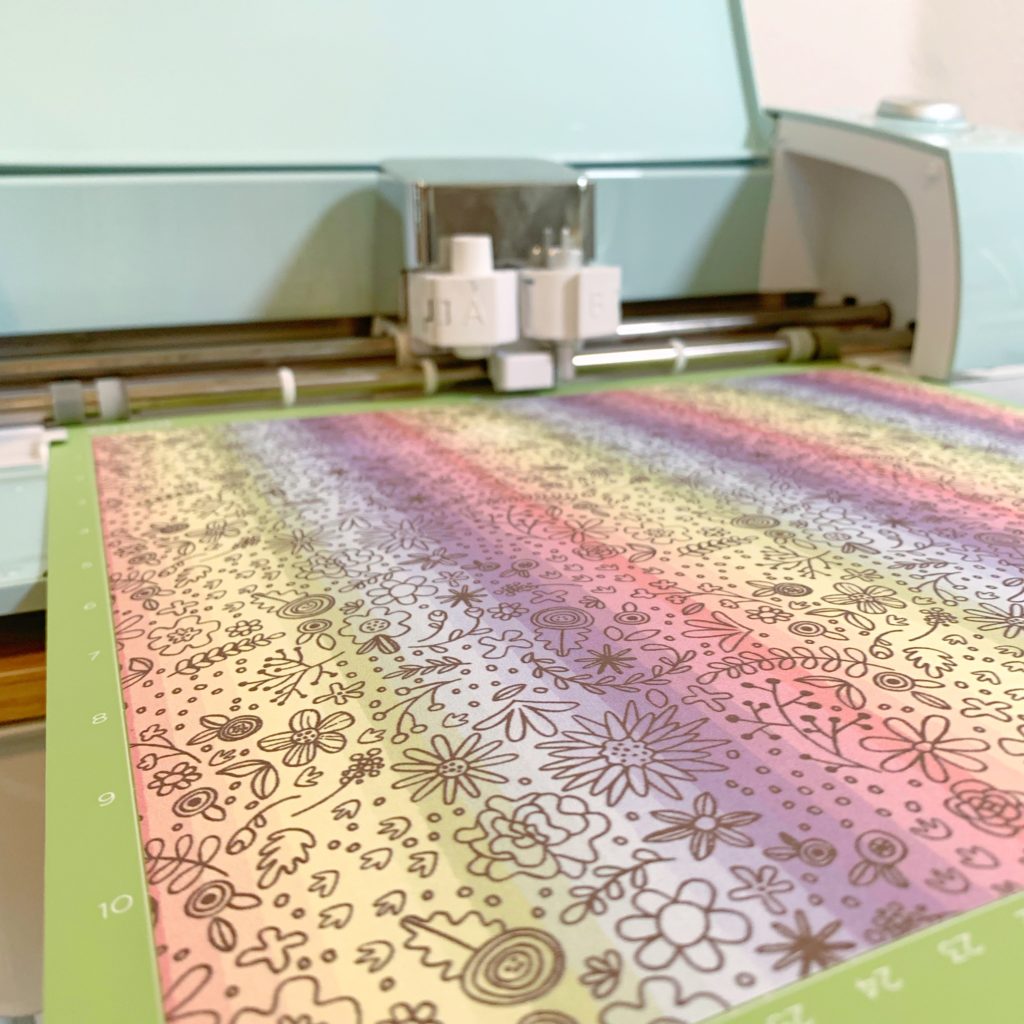
4. Weed your design. Use your fingers or tweezers to carefully remove negative pieces from in and around your design, leaving design on the liner.
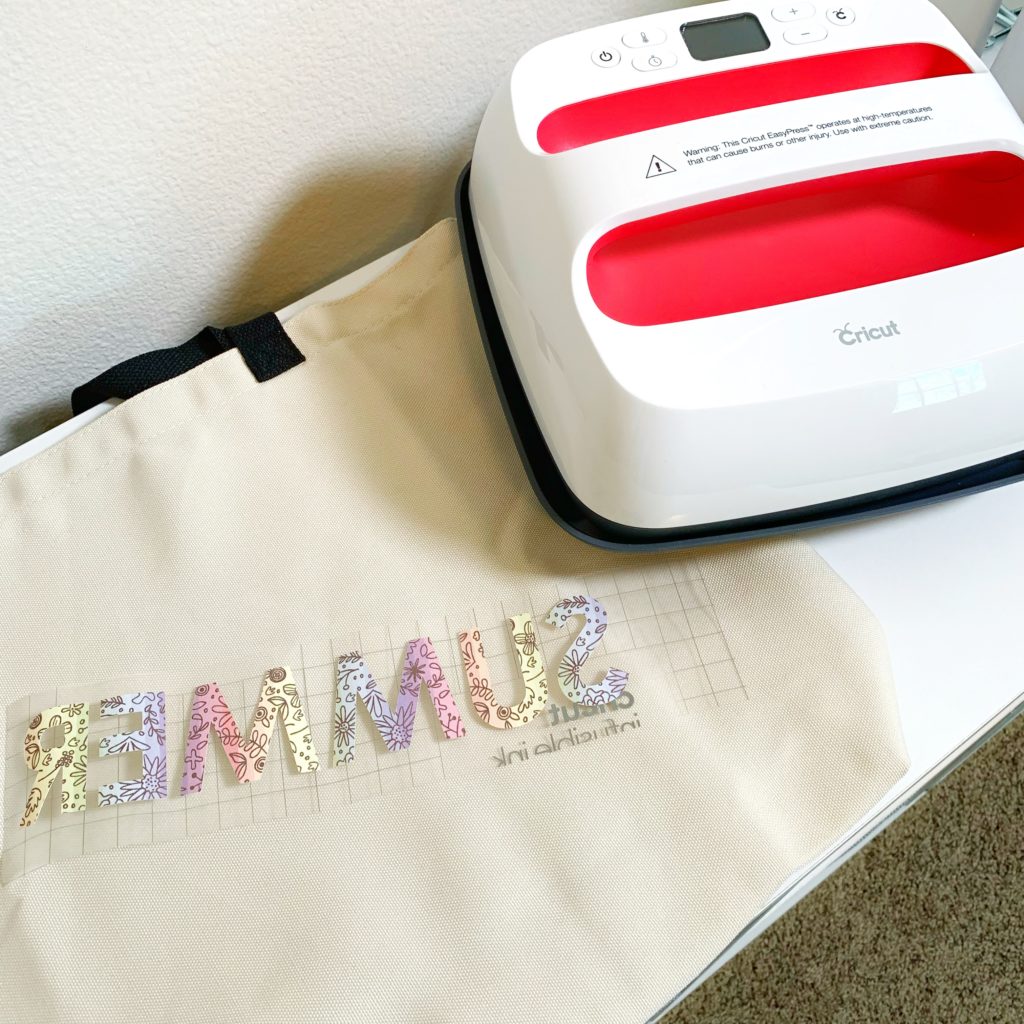
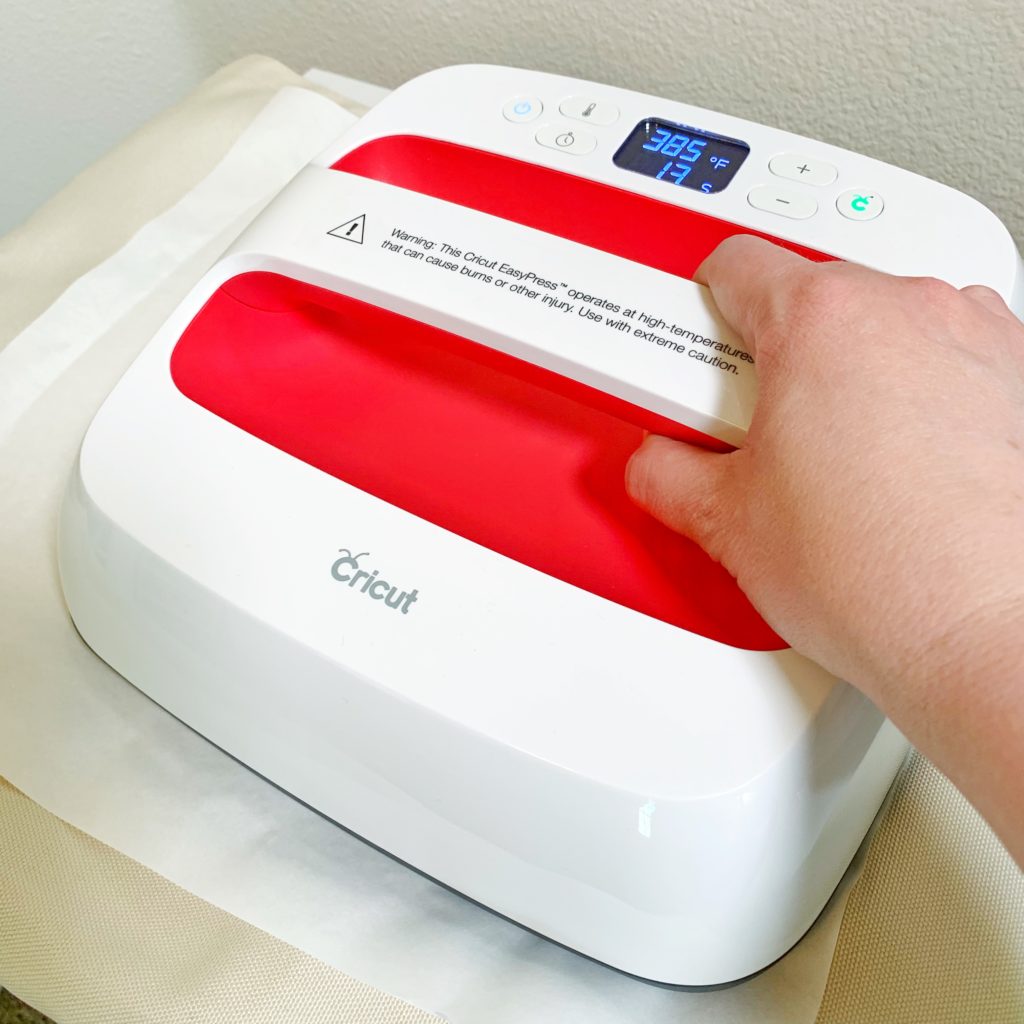
5. For this project, set your Cricut EasyPress 2 to 385° F/ 195° C and 15 seconds. Place cardstock on top of Cricut EasyPress Mat, then position both inside tote.
6. Use an adhesive to lint-roll the entire surface.
7. Cover the tote bag with butcher paper. Then, preheat application area for 15 seconds using light pressure.
8. Remove butcher paper and let tote cool completely.
9. Place your design face down on tote. The clear liner should be on top and the printed side of the Infusible Ink Transfer Sheet should be against the tote.
10. Place the butcher paper on top of the design. Then, press with Cricut EasyPress for 40 seconds.
11. Let project cool completely before removing the laser paper.
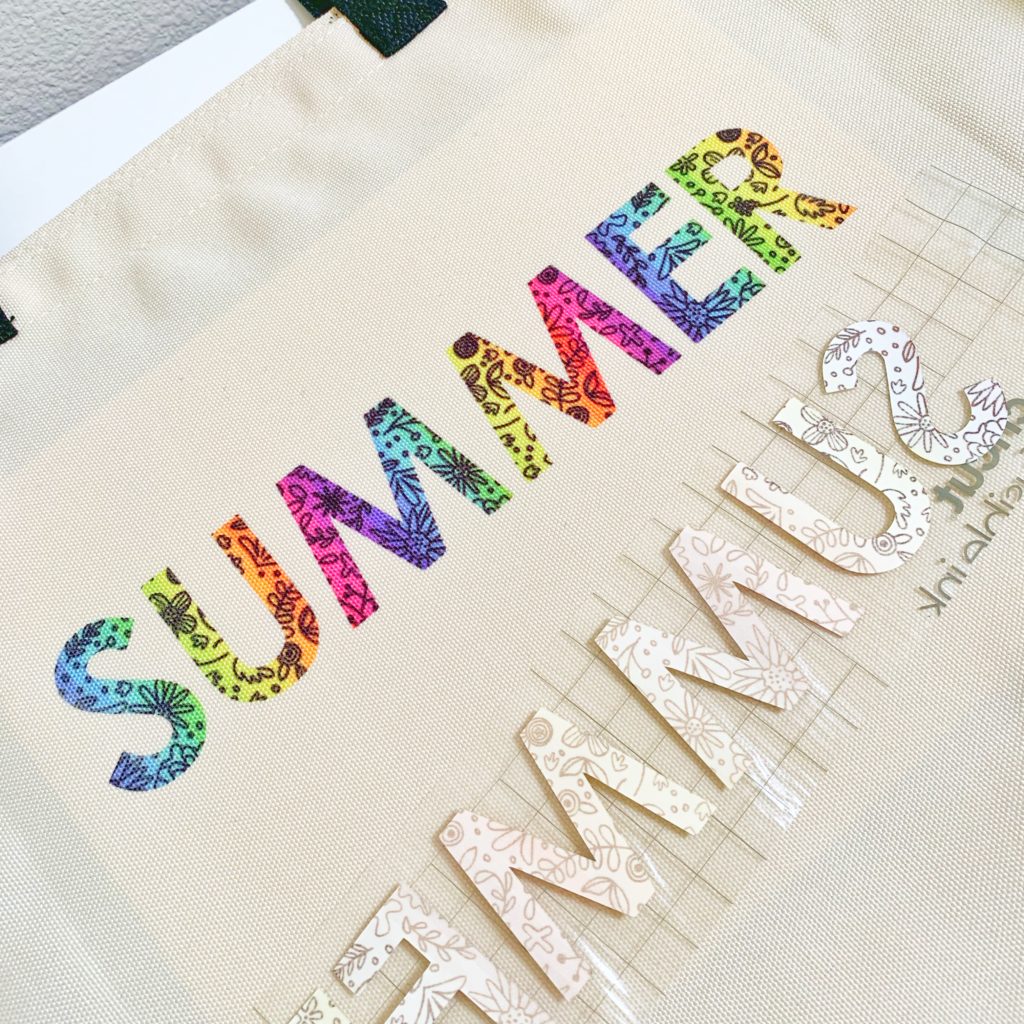
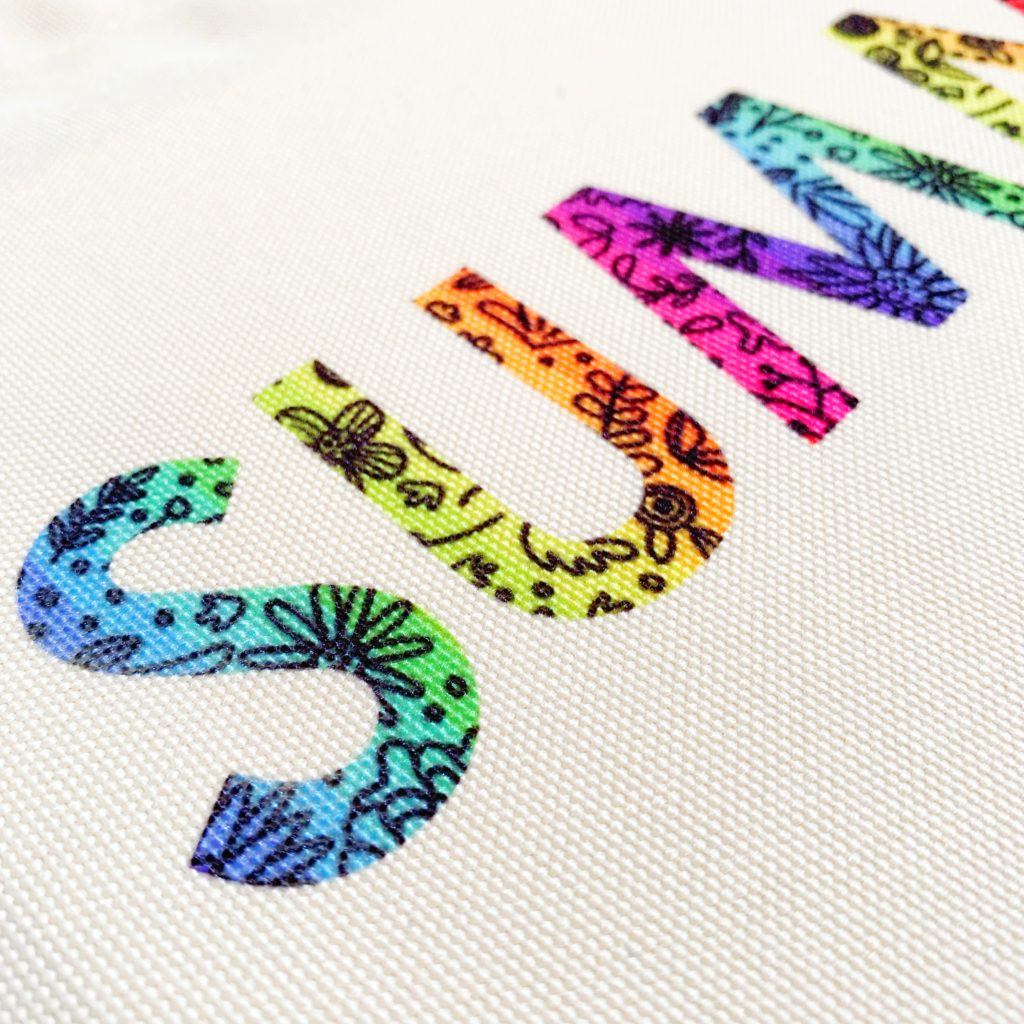
That’s it! This project was easy and creates a professional look that will last multiple washes all summer! I can’t wait to share my next project using the Infusible Ink sheets!

