I am all about making cute crafts, elaborate book companion activities that require hours of cutting and laminating and room transformations to match your monthly theme. However, these can often distract us from the main focus of our sessions- providing functional strategies that lead to communication and language growth. Sometimes, it’s important to take a step back and go back to the basics. Sometimes, we need to cut the fluff. I am going to share with you five basic items for speech therapy and challenge you to only use these for an entire day! Lose the board games and the elaborate crafts. Keep it basic, but functional.
All of these items can be found at the Dollar Tree and you may already have them.
Item One: Mirror
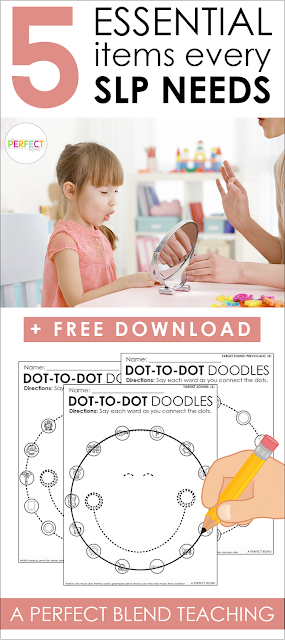
Articulation Drills: Pairing your verbal directions with a visual can lead to a more receptive response from your students. I give all of my articulation students a mirror. This allows them to more accurately match the placement of my articulators as they practice in the mirror.
Emotions/Facial Expressions: For your students targeting emotions and facial expressions, practice making the faces in the mirror. You can also prompt your student to show you in mirror an appropriate facial expression based various social situations. For example, “Show me your expression if you just lost a soccer game.”
Self-Encouragement: My students are a little shy when doing this task in the beginning, but they grow to love it. Before your students leave each session, have them encourage themselves! They can say, “I said my /s/ sound correctly 100 times today and I am awesome!” or “I am a rockstar speech student!” It will take them a few sessions to be comfortable with this task, but it’s an important life skills to be able to encourage yourself!
Item Two: Dry Erase Marker
Comparing and Contrasting: Draw a large Venn Diagram on the table or white board with a dry erase maker. Using a dry erase marker allows you to practice the skill multiple times without wasting paper.
Write the Room: Instruct students to make a list of words around the room that have their target sound. Write the list on the table using the dry erase marker.
Data Collection: I often keep my +/- data on the table with a dry erase marker before transferring it to the data collection sheet or form. Again, this allows me to not waste paper!
Item Three: Play-Doh
Requesting: With my young language learners or AAC uses, I start with having them choose a color and modeling a complete sentence, “I want blue.” Once they select their color, I place the play-doh in front of them without opening it. The containers can be difficult to open, so this will give them the opportunity to request help… (side note: sabotaging a lesson is a great strategy for encouraging language)…back to play-doh. After I open the play-doh, I will only give the student a small piece, again, giving them the opportunity to request, “more.”
Describing: Encourage students to describe how the play-doh feels, looks and smells. Scented play-doh is always a hit for this activity. Students can also mold different shapes, animals, foods, etc.
Item Four: Dice
Articulation Drills: Instruct students to roll the dice and add up the numbers. Then, have them say that number of words with their target sound. This activity allows for multiple repetitions, but makes therapy a little more interactive for your students.
Prepositions: Place the dice in different places around the room and prompt the student to identify the location of the dice. Encourage them to use a complete sentence (i.e., “The dice is under the table.”). You can also target this skill receptively by having the student place the dice in the designated location.
Keep the Score: Everyone loves a little competition and this simple activity is perfect for mixed groups. As each student completes a task, have then roll the dice and add the numbers. Keep score throughout the session. The student with the most points at the end of the session, WINS!
Item Five: Pencil and Paper
Barrier Activity- Following Directions: Use a file folder to obstruct the view for each student (or with the student if it’s a one-on-one session). Instruct the students to divide their paper into 6 equal sections. Then, instruct them to draw pictures in each box. For example, “In box number 3, draw a tree.” This is a great opportunity to teach your students strategies if they do not understand oral directions (i.e., requesting for the instructions to be repeated).
Are you ready for the challenge? I challenge you to use only these five items for an entire day! Can you do it? Share with me the successes for your challenge in the comments.


