Creating a eye-catching seasonal bulletin board for your classroom or school hallways can add functional decor to any space. Whether you’re designing an interactive board or one that sparks conversation, cutting letters is made easy using a cutting machine. This tutorial is for a Cricut® Explore Air 2 or Cricut® Maker (affiliate links).
HOW TO: CUT BULLETIN BOARD LETTERS
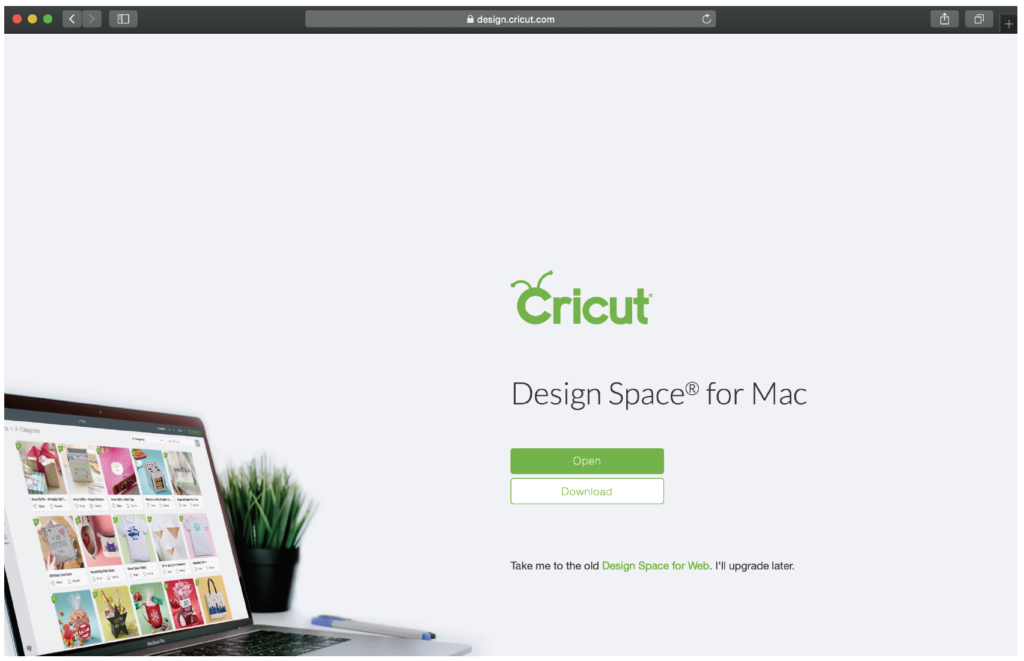
STEP ONE: Open the Design Space app. If you do not have the app, go to design.cricut.com and click, “Download.”
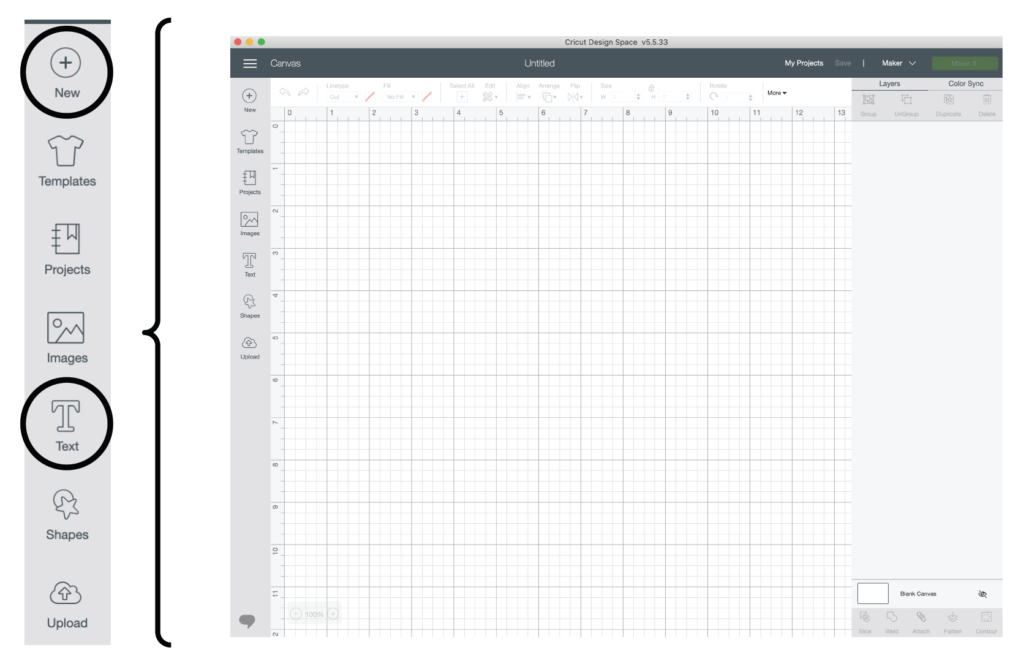
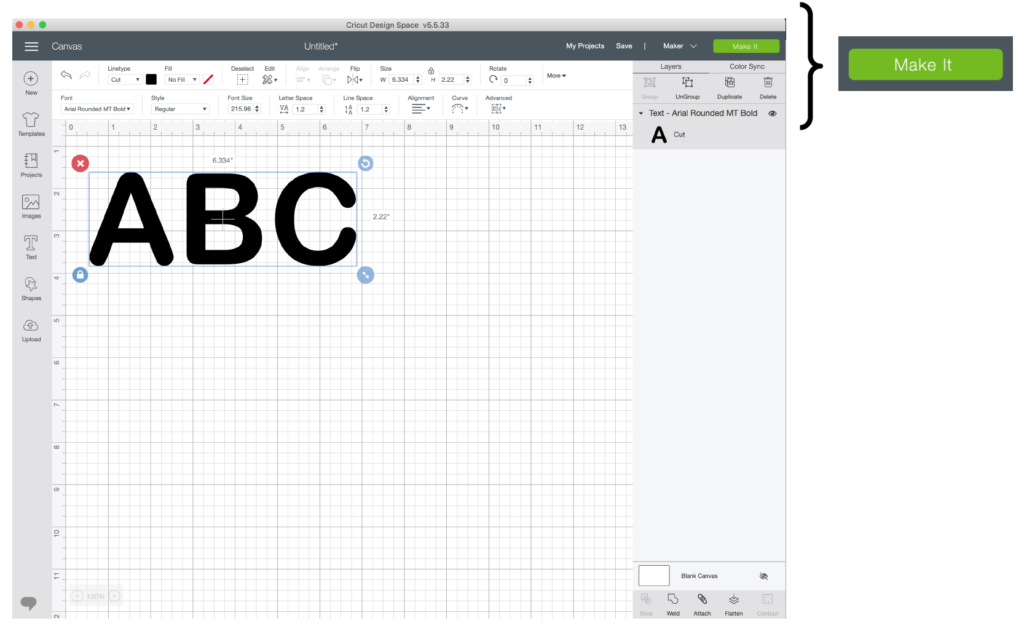
STEP TWO: Click, “New.” Then click, “Text.”
STEP THREE: Type your text. Note: Use the gridlines to ensure the text fits the size of the paper/material (8.5×11, 12×12, etc.). By dragging the double arrow in the bottom right corner of the text box, you can resize the text.
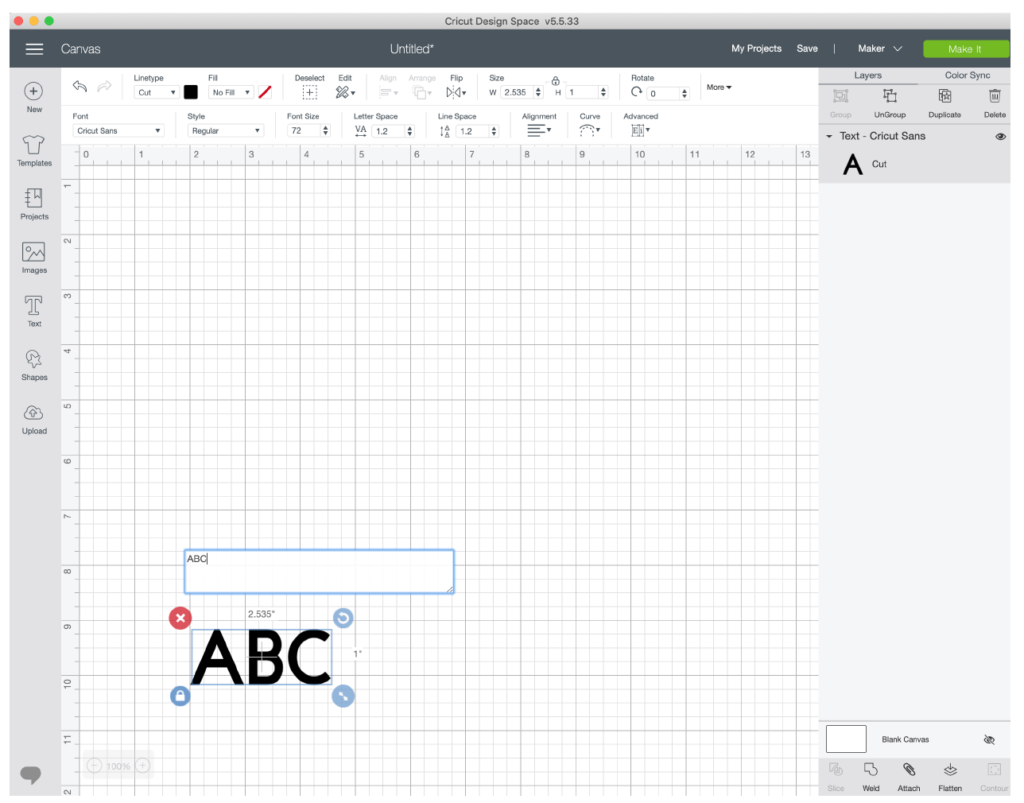
STEP FOUR: Change the font, font size, letter space and line space. When you are ready to cut, click, “Make It.”
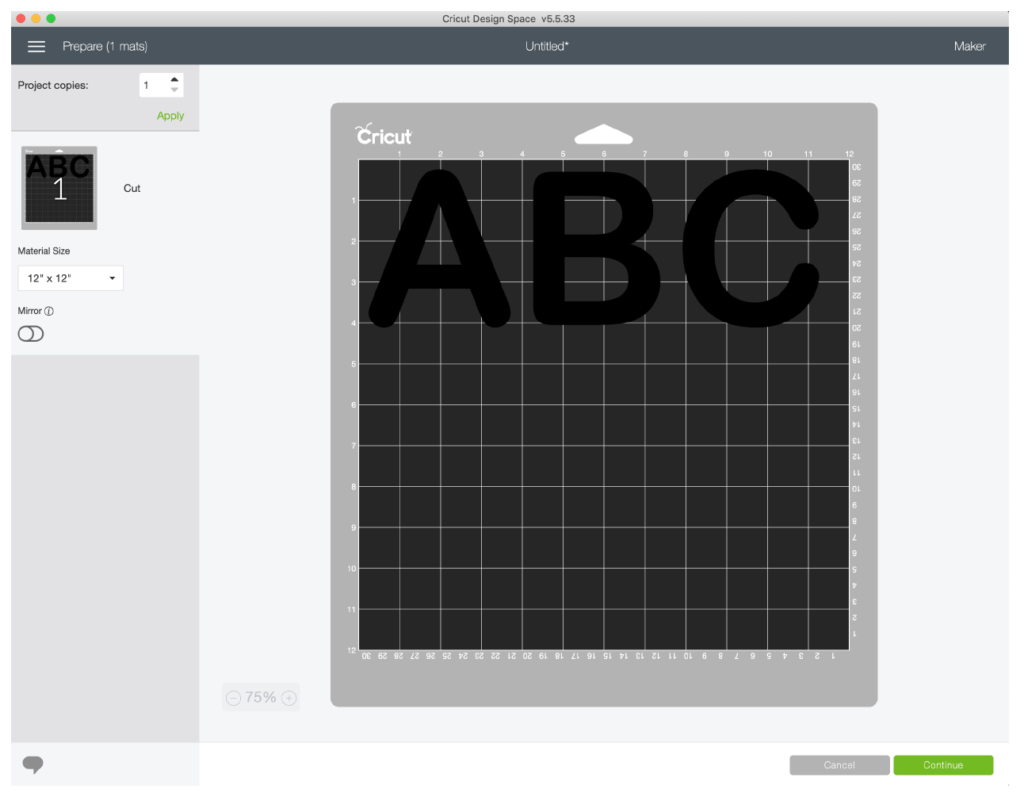
STEP FIVE: Verify that the letters will fit on the material. Click, “Continue.”
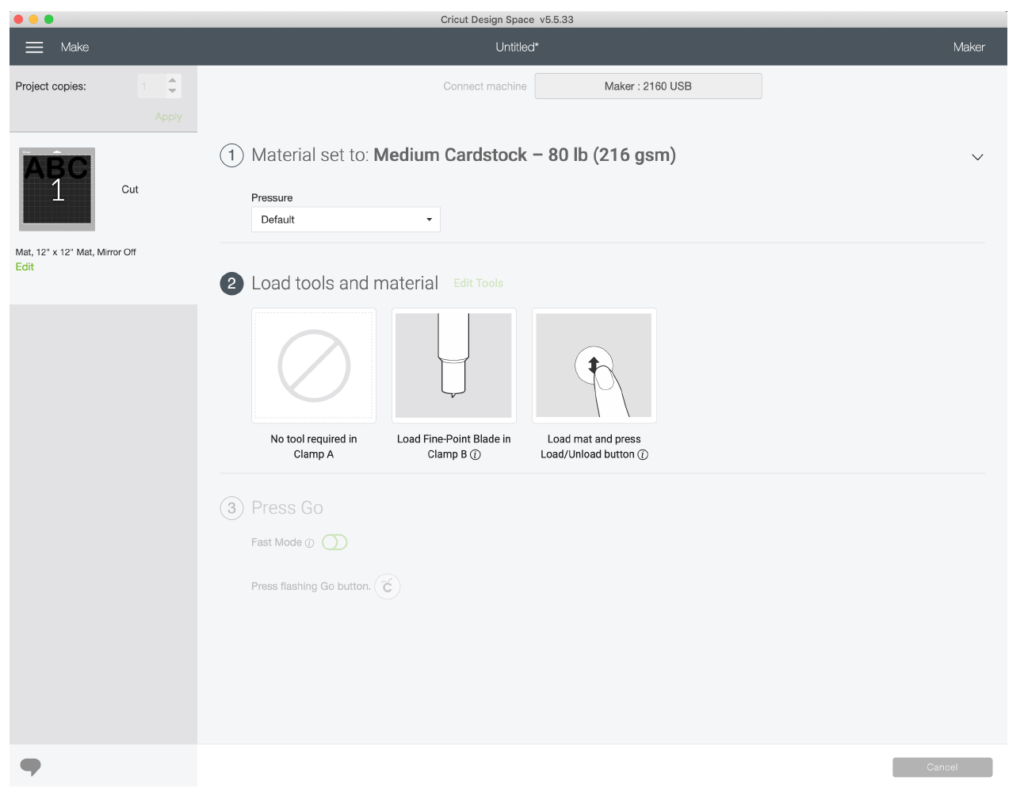
STEP SIX: Set the material. NOTE: For a Explore Air 2, turn the dial on the machine. For a Maker, change the material using the on-screen prompt.
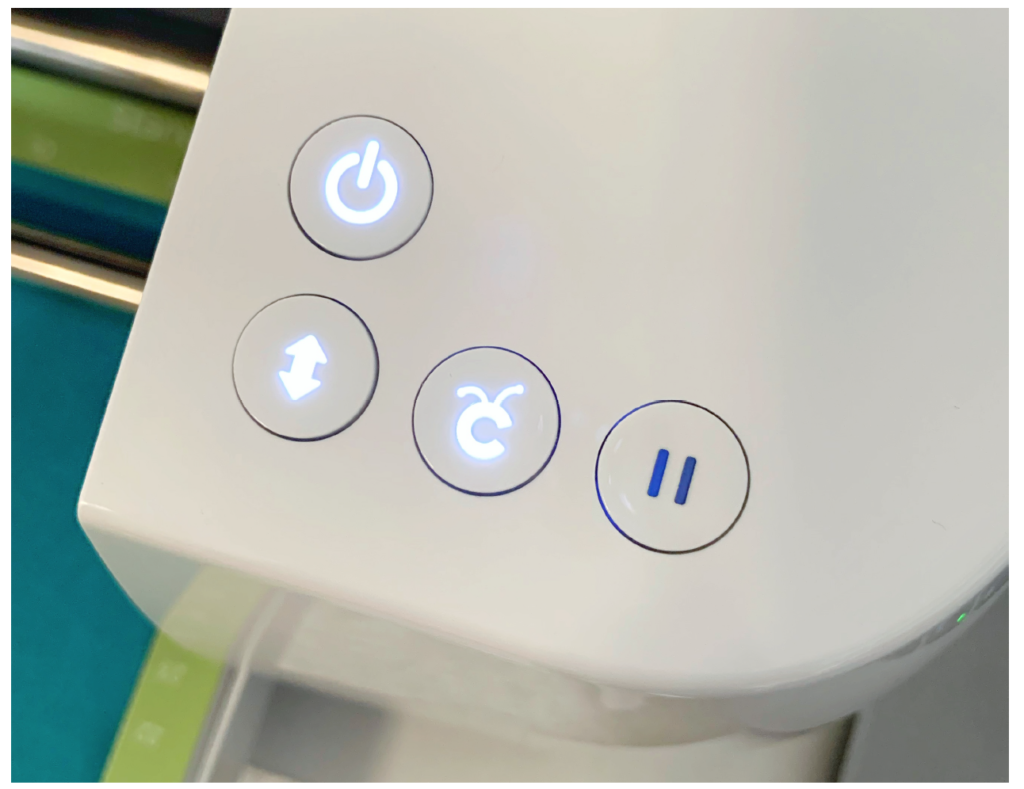
STEP SEVEN: Place the paper on the mat and load the mat by pressing the load/unload button.
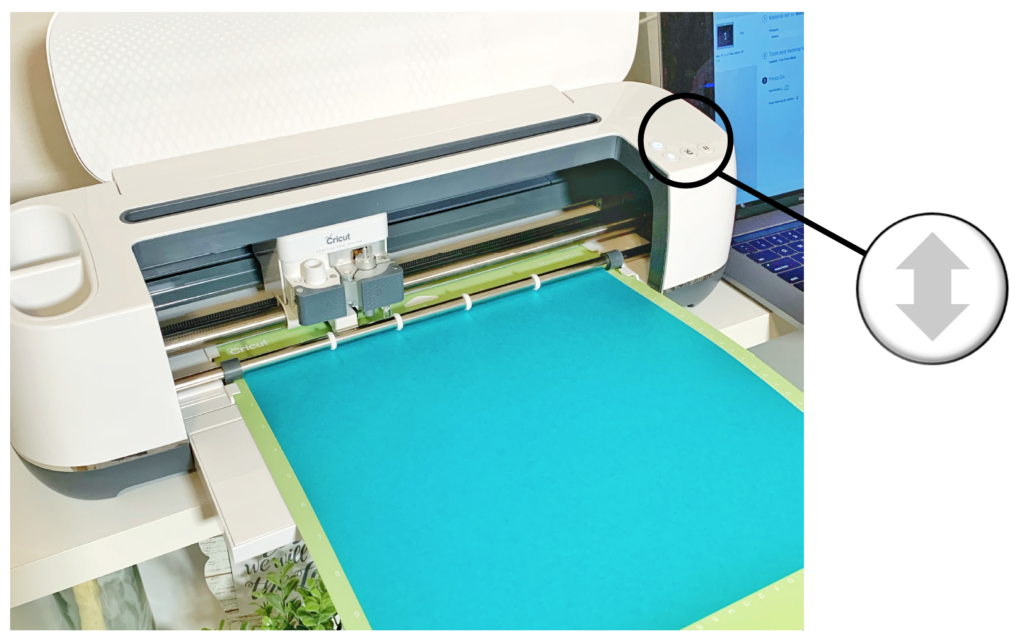
STEP EIGHT: Press, “Go” (Cricut® logo) when flashing. When the cutting is complete, press the load/unload button.
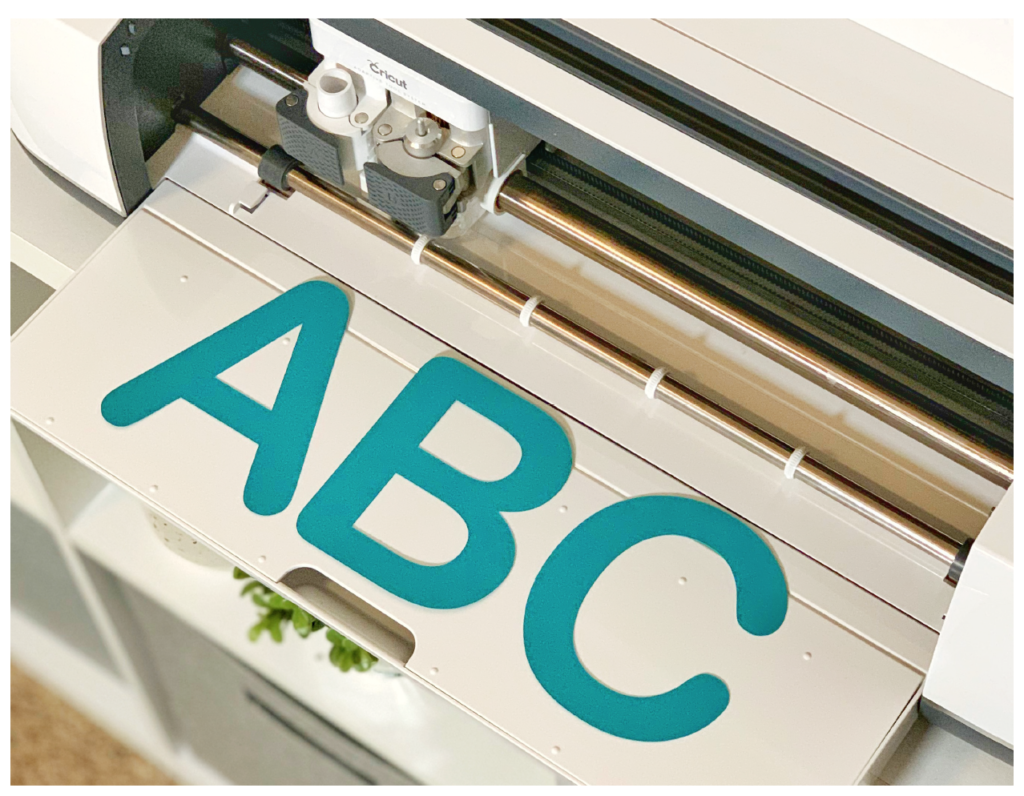
STEP NINE: Remove the letters from the mat. PRO TIP: Flip the mat over and pull the mat away from the letters to prevent the letters from curling.
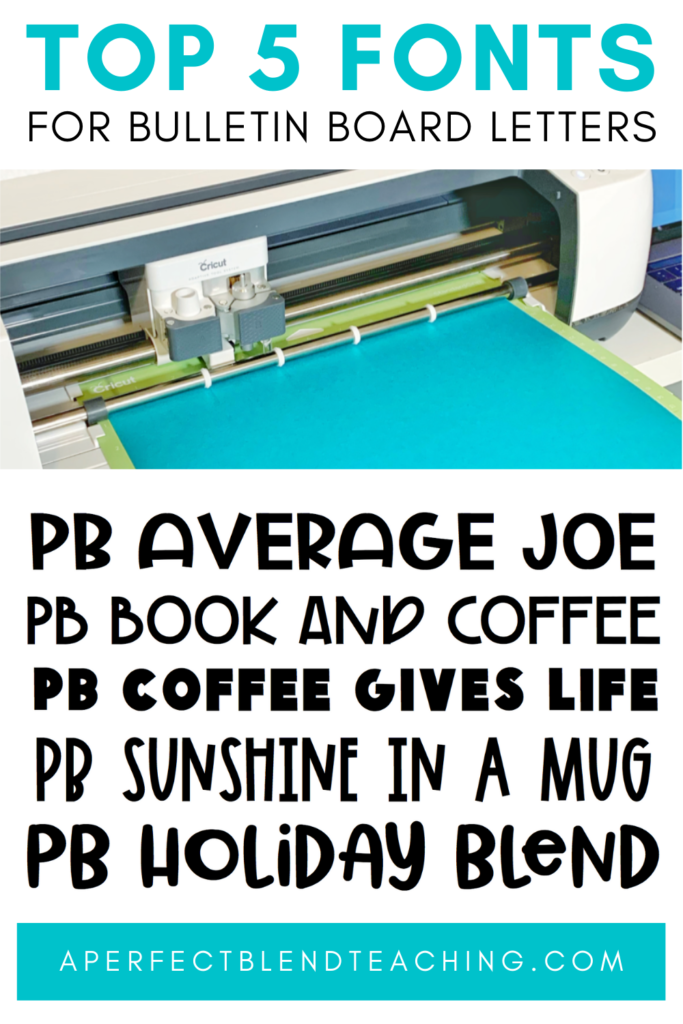
TOP 5 FONTS FOR BULLETIN BOARD LETTERS
Bolder or thicker fonts are often more suitable when creating bulletin boards. These fonts are also easier to cut using a cutting machine.
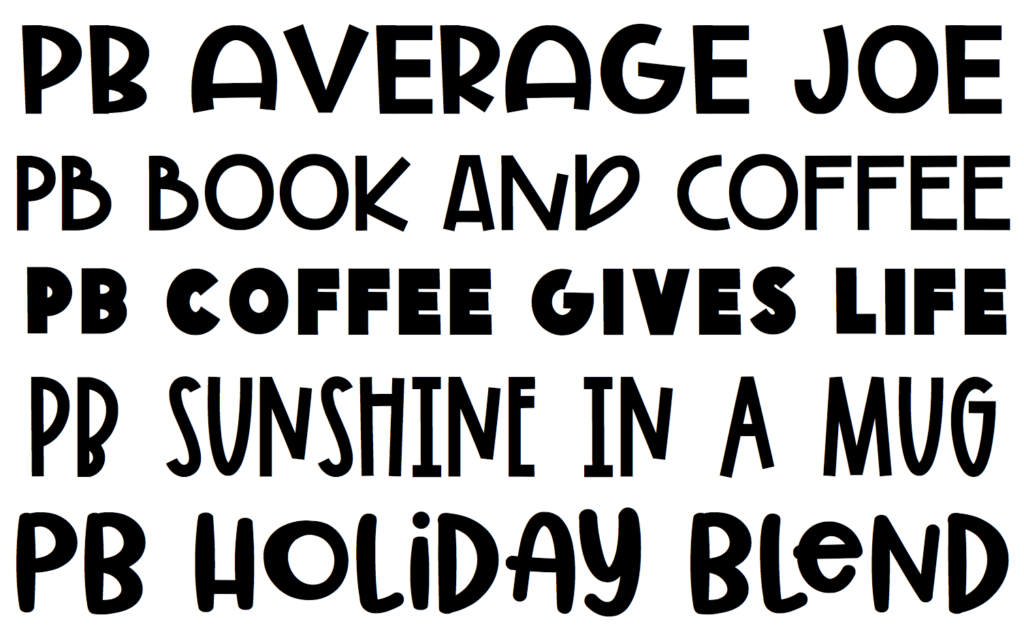
All fonts are available in my Teachers Pay Teachers store.
Learn more about creating functional classroom decor and interactive bulletin boards in this post!

